I’ve been using Canva for the last number of years now and I love it! If you’re someone who, like me, isn’t a graphic designer and doesn’t have access to the likes of Photoshop, then Canva is that great alternative that helps you to believe you are creative :)
Canva is a great tool no matter if you’re using it for professional, business or personal use – the only downside is that if you’re not disciplined enough (again like me!) then you could fall down that rabbit hole and spend hours (!) choosing a design, colours, images, text etc etc.
In this step by step tutorial you’ll learn how to create a table using shapes. Happy learning! If you prefer to watch the video, scroll down to the end of this post :)
Firstly this tutorial is done using a free account so everything I use here would also be available to you :)
Go to a blank design, or wherever you want the table to be created. Press the keyboard shortcut R to insert a rectangle then resize as below, OR if you want to view the range of different shapes available then click on Elements in the menu on the left hand side…

Then scroll down to Shapes and if you can see the square shape then click it. If you can’t see it then you’ll need to click See all, and click on the square…
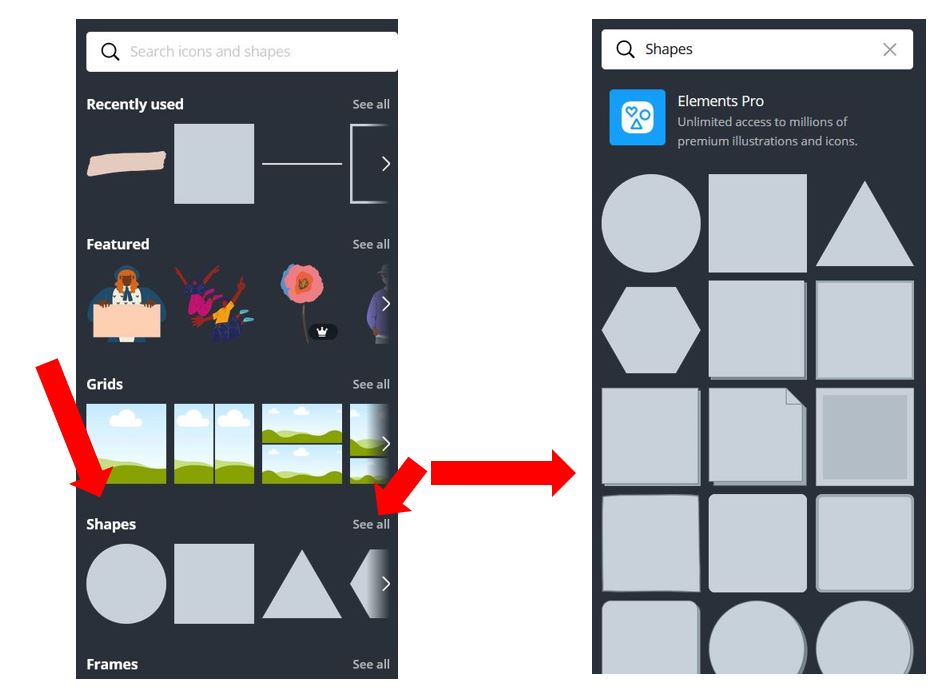
Grab the size handles to resize the square so it resembles a cell of the table…

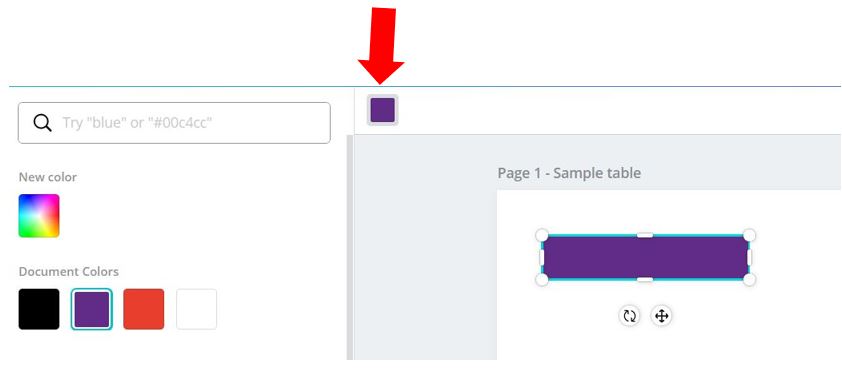
Select the cell by clicking it then change the colour of it to whatever you like by clicking on the coloured square in the top left corner. This will open up the colour palette on the left hand side where you can choose from default colours, document colours, or you input the hex code of a colour you want…
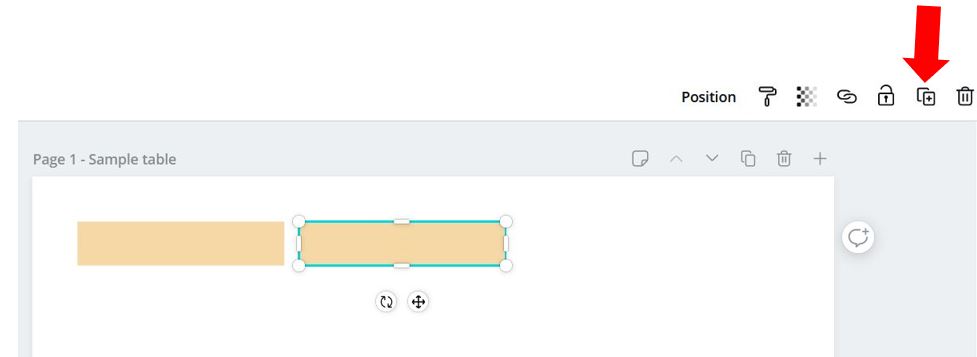
Once you have the cell as you want it, copy it several times to make a row. You can either press Ctrl+C then Ctrl+V to copy & paste, or click on the Duplicate icon in the top right corner of the screen…
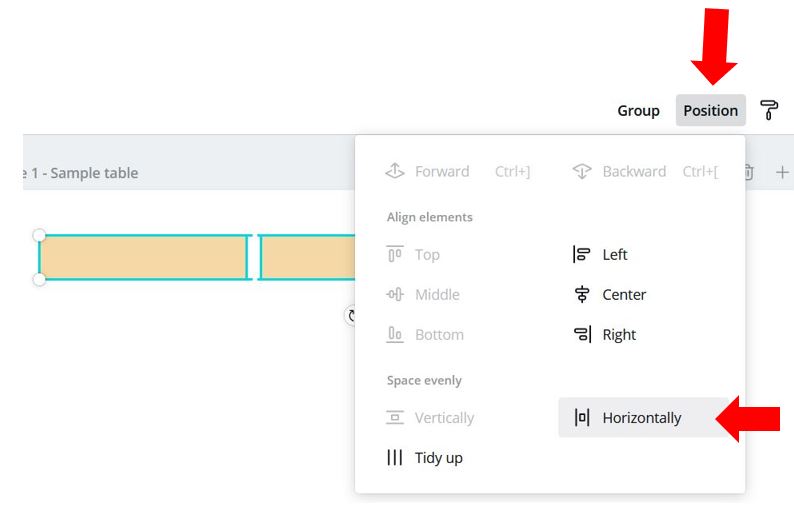
To have all the cells evenly spaced apart, highlight all the cells by pressing Shift & clicking each cell, and click on Position in the top right corner, then click Horizontally…
Once you’re happy with the row of cells, select them all (pressing Shift & clicking on each one), and click Duplicate again for however many rows you want in the table. Then highlight each row and move it to a new position. As you move them you’ll notice pink guide lines appear to make it visually easier to see when they are aligned with other rows etc. However if you want to make doubly sure, just click the cells in one column, go to Position again, then you can align left.
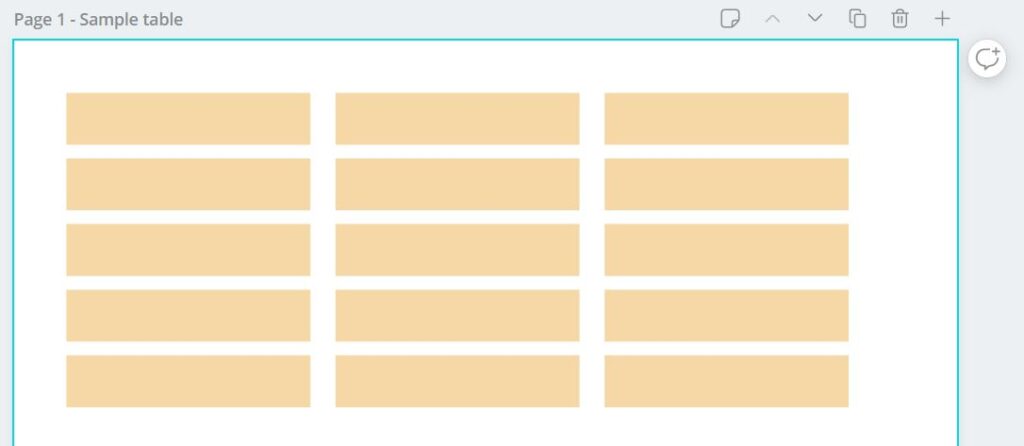
Colour the cells in the top row in a different colour so it stands out as the Header row, then add text by using keyboard shortcut T OR if you want to view the different text options available then click Text over on the left hand side and choose Add a subheading, type out the heading and position it in the first cell…

To change the font type, click on the font name and choose a font you prefer from the list that appears on the left hand side…
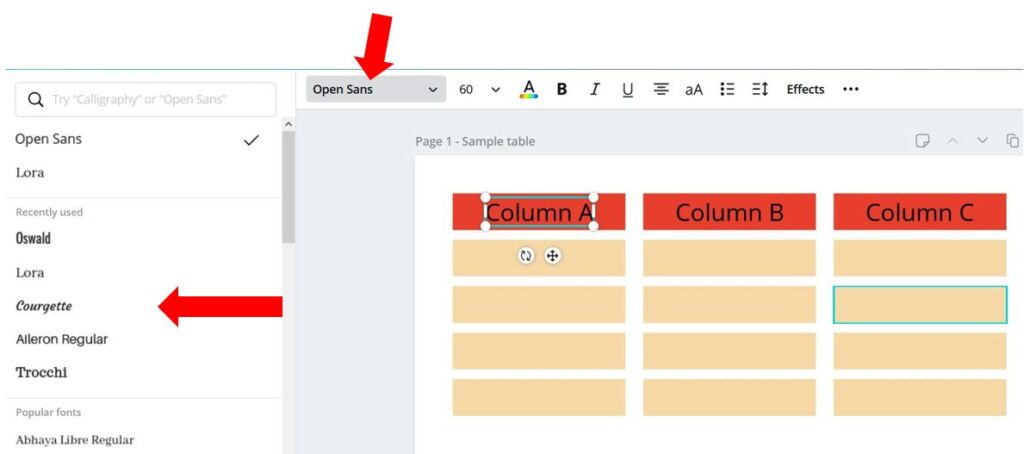
Next to the font type, you’ll see where you can change the text size, colour and other formatting options for you to play around with… just beware of that rabbit hole ;-)
