There are several ways to change the font size in Word and a couple of things to think about before resizing the text. To begin with I’d recommend that you choose your actual font before deciding on the size – the reason being that some fonts are narrower or wider than others, and so the spacing between the characters will vary.
Then decide which bit of text you want to resize – if you want the whole document a different size to the default, then select the size before you start typing; if you want just a word, line, or paragraph changing then highlight that particular section and change the size. You can even change the size of just 1 letter if you wish!
To change the font size, you can do any of the following options:
- Use the font section of the ribbon
- Use keyboard shortcuts – 2 different types!
- Set the size as default
I go through each one of these in this step-by-step tutorial below or you can watch the video at the end of this post :)
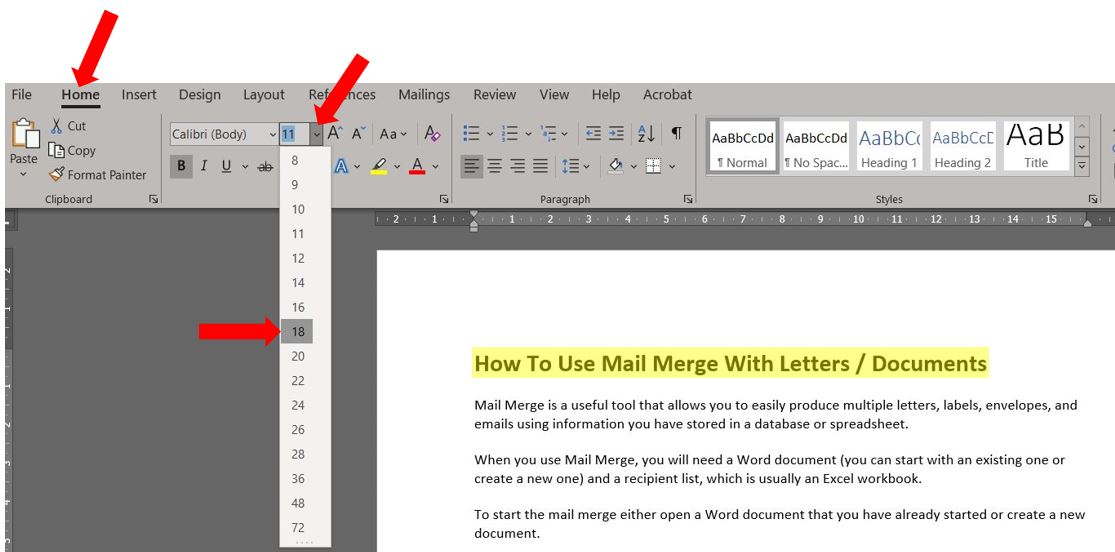
1. The ribbon option
After you’ve selected the section of text you want to resize (or placed the cursor at the start of your blank document to start typing), make sure you’re on the Home tab on the ribbon and click on the drop down arrow to the right of the font size in the Font section. In the example below, I want to make the title that I’ve highlighted a bigger size than the default 11pt…
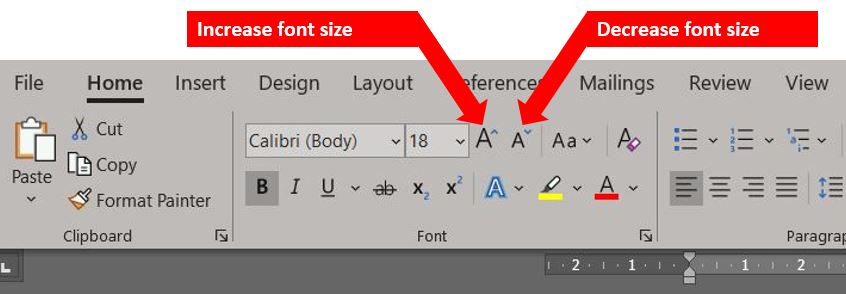
Another way of increasing or decreasing the font size is to click on the 2 buttons to the right of the font size box. Highlight the text you want to change, then click either the large A or the small A to increase / decrease the size – the sizes are the same as what appears in the drop down list i.e. if you are currently on size 28 and click the increase button, then it will jump to 36 as per the drop down list above…
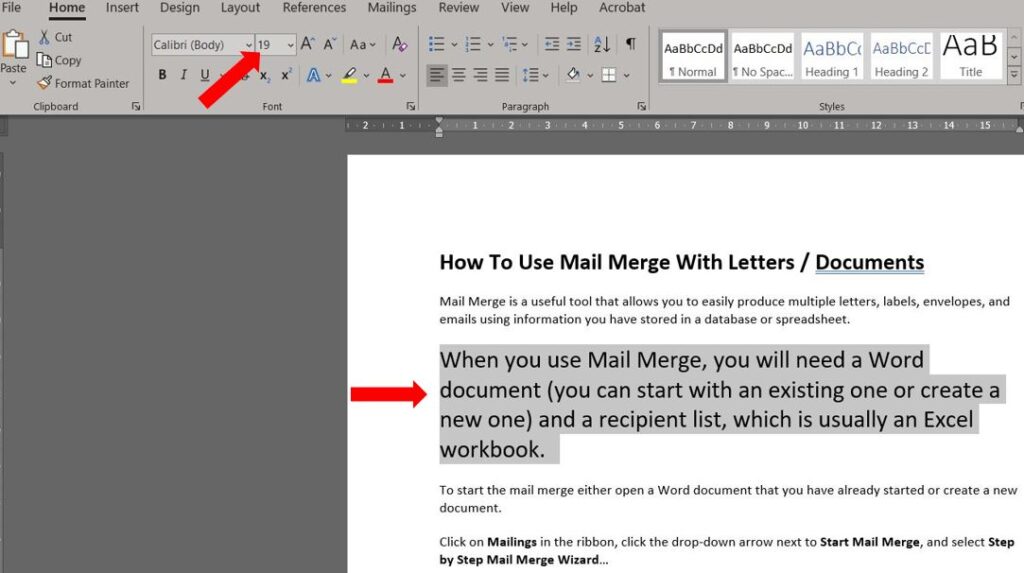
The third way of using the ribbon is to manually type in the size you want. Highlight the text you want to change, then click on the font size box so the current size is highlighted. Type in the size you want and press Enter. This is ideal if you want to choose a size that isn’t shown in the drop down list above. In the image below I’ve manually typed in size 19 for the highlighted text…
2. Keyboard shortcuts
One of the quickest ways to change font size is to use a keyboard shortcut. After highlighting the text you want to change, press:
Ctrl+Shift+> to increase or Ctrl+Shift+< to decrease the size at the same rate as the drop down list above; or
Ctrl+] to increase or Ctrl+[ to decrease the size 1pt at a time so you can be more exact.
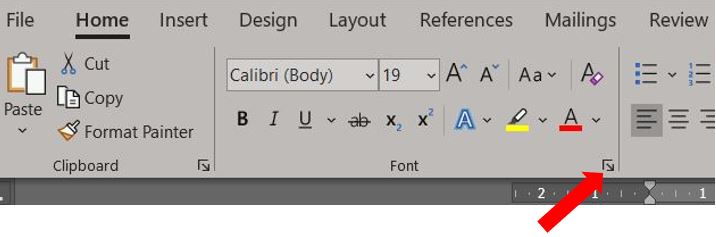
3. Set as default
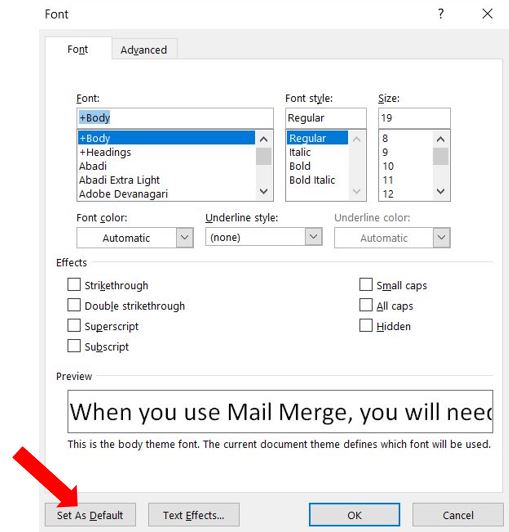
If you want to set the font style and size as your default, make sure you’re on the Home tab on the ribbon and click on the dialog box launcher in the bottom right corner of the Font section…
This opens the Font dialog box. QUICK TIP: You can also use keyboard shortcut Ctrl+Shift+P to open the dialog box. Click on Set as Default…
You’ll then be asked if you want to set this font style as default just for the document you are in or all documents…
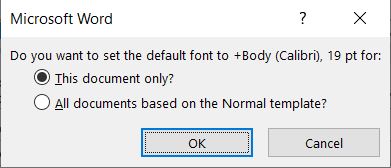
Choose which you prefer and you’re all set.
So there you have a few simple ways of changing the font size in your Word document. I hope you’ve found it helpful :)