Canva has a lot of really good effects you can use for free which you can tweak to create something totally unique to you. In this step-by-step tutorial I show 2 different ways of adding a glowing outline to an image. The video is at the end of this post if you prefer to watch instead :)
Method 1: Using Adjust
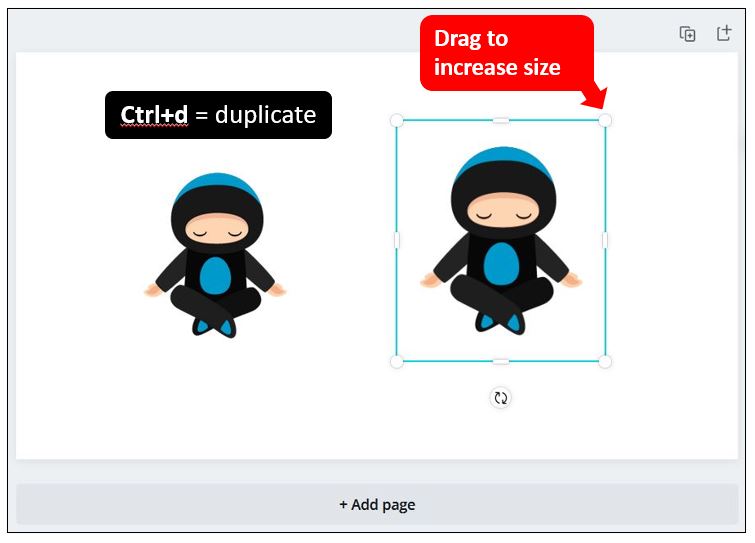
Once you have your image in a design, quickly duplicate it by pressing Ctrl+d and then make it slightly bigger by dragging the drag handles in one of the corners. This will be the image used as the glowing background…
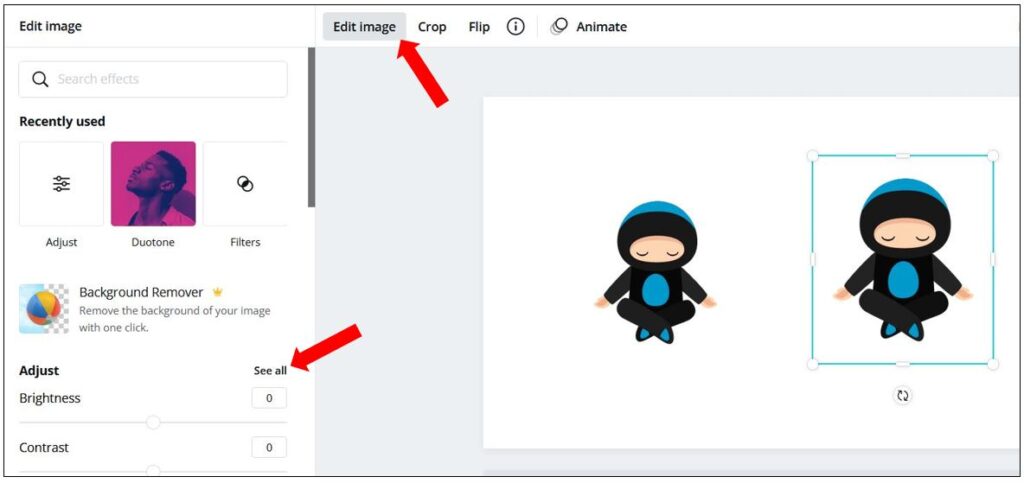
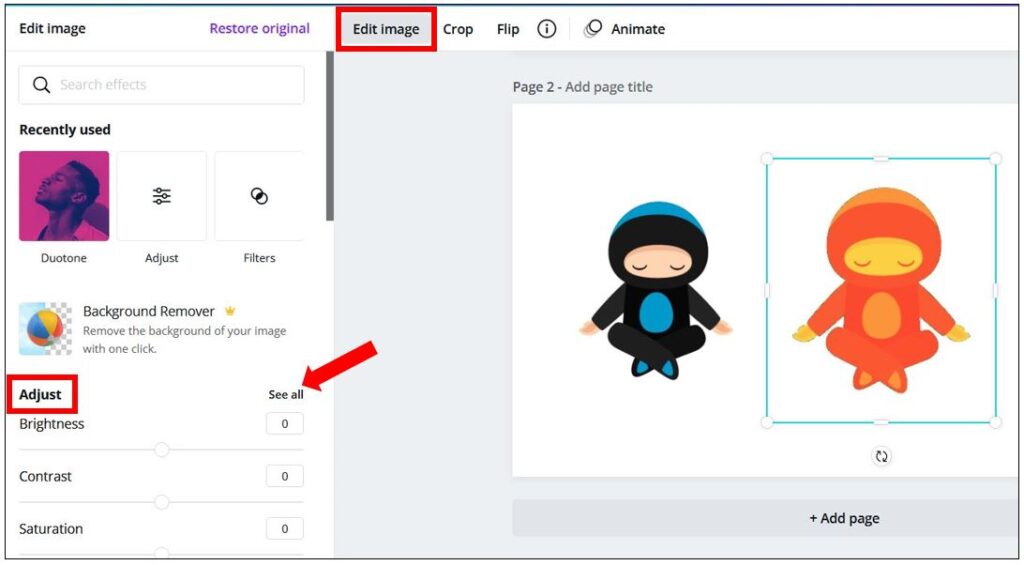
Select the larger image then click on Edit image at the top of the page and scroll down to the Adjust section over on the left hand side, then click See all…
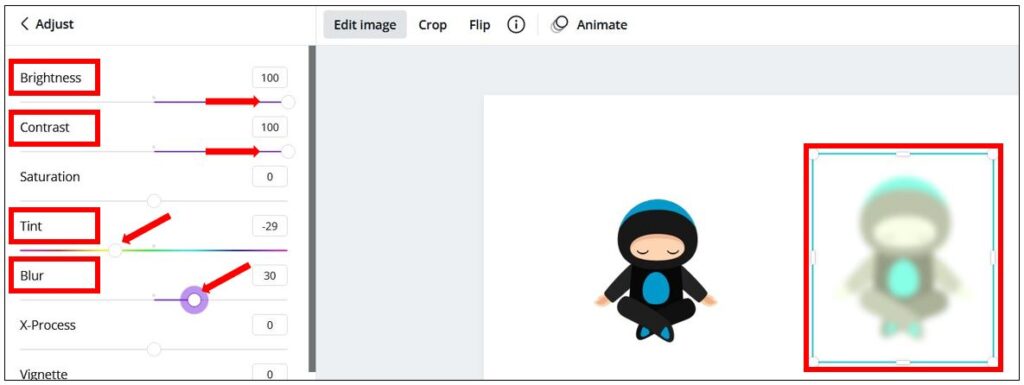
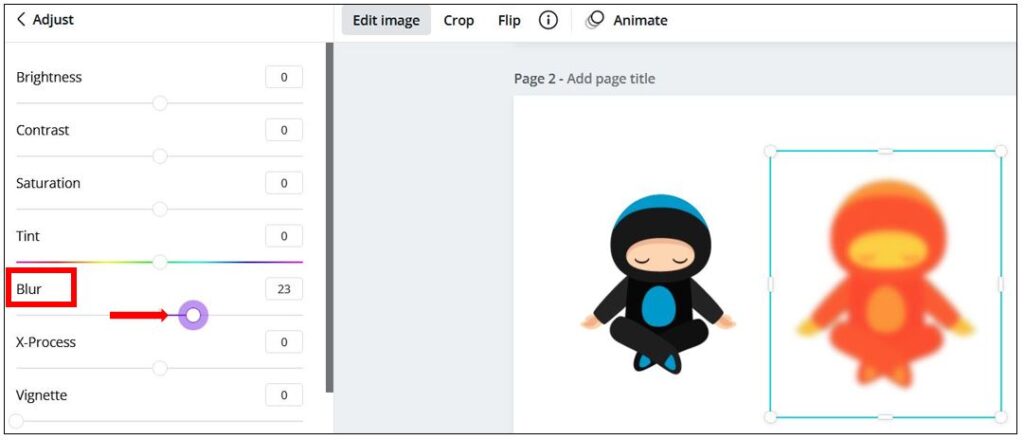
Increase both the Brightness and Contrast to maximum by moving the sliders to the right. Then choose which colour you want as the main Tint. The final step is to add the Blur, move the slider and you can see the effect on the actual image as you increase it…
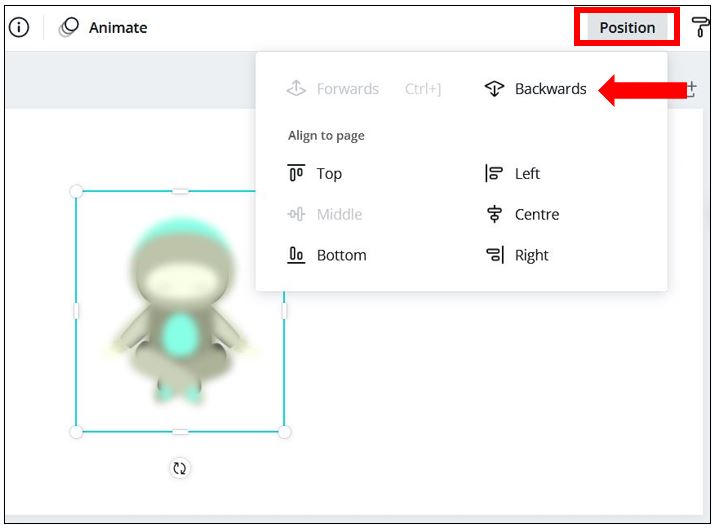
Once you’re happy with it, you now need to position this behind the main image – just drag it over to the other image and if it’s on top of the image, click on Position and select Backwards so it will go behind the main image…
You can now see the glowing outline. If you want to tweak the blurriness or colour, press the TAB key on your keyboard to quickly move between the elements until the background image is selected then click on Edit image and adjust as necessary.
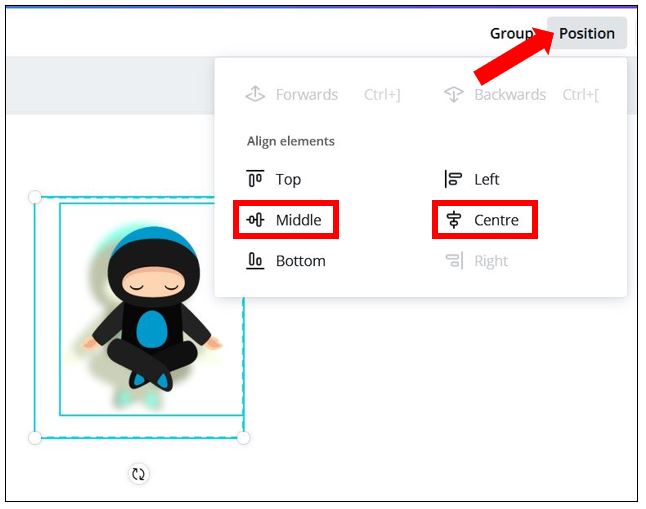
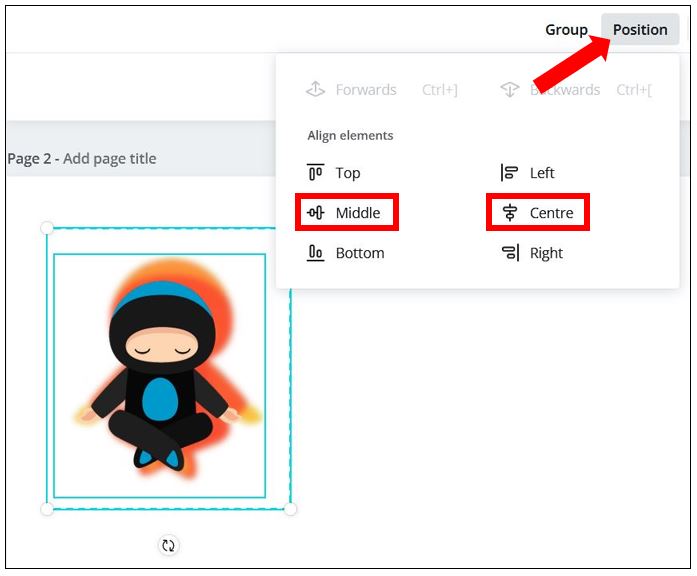
If the images are out of alignment, select the background image then click on the front image whilst holding down the Shift key, so both images are selected. Click on Position at the top of the page, and then click both Centre and Middle to get both images centrally aligned…
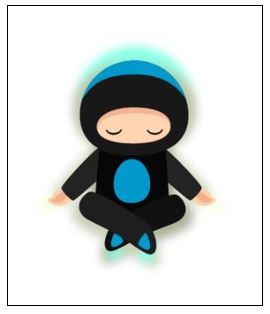
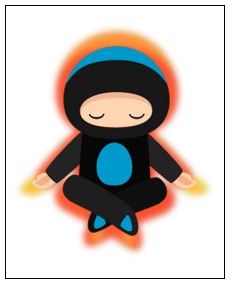
Below is the glow effect using this method…
Method 2: Using Duotone
Once you have your image in a design, quickly duplicate it by pressing Ctrl+d and then make it slightly bigger by dragging the drag handles in one of the corners. This will be the image used as the glowing background…
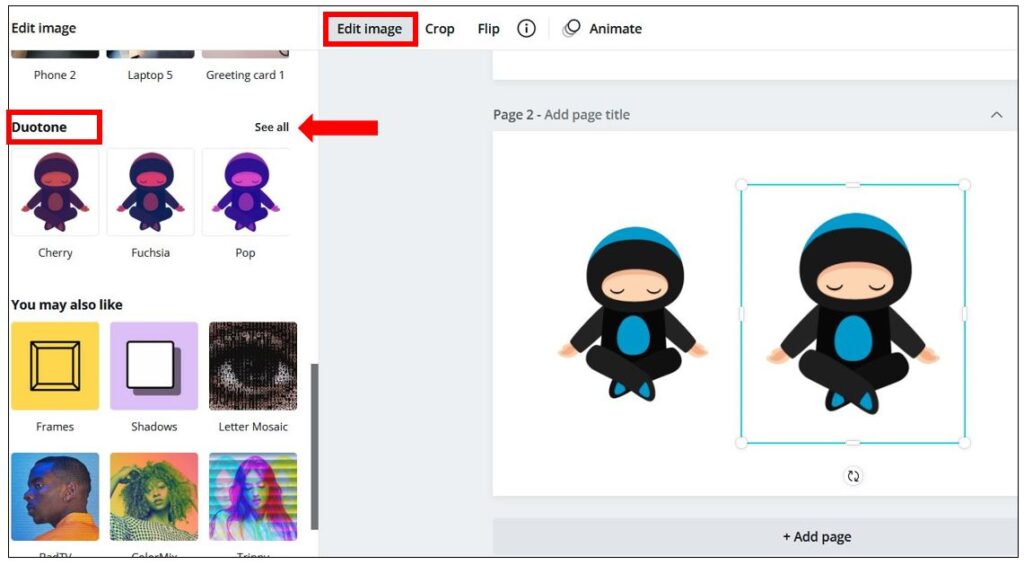
Select the larger image then click on Edit image at the top of the page and scroll down until you see an effect called Duotone (this may be under the heading You may also like), and click on See all…
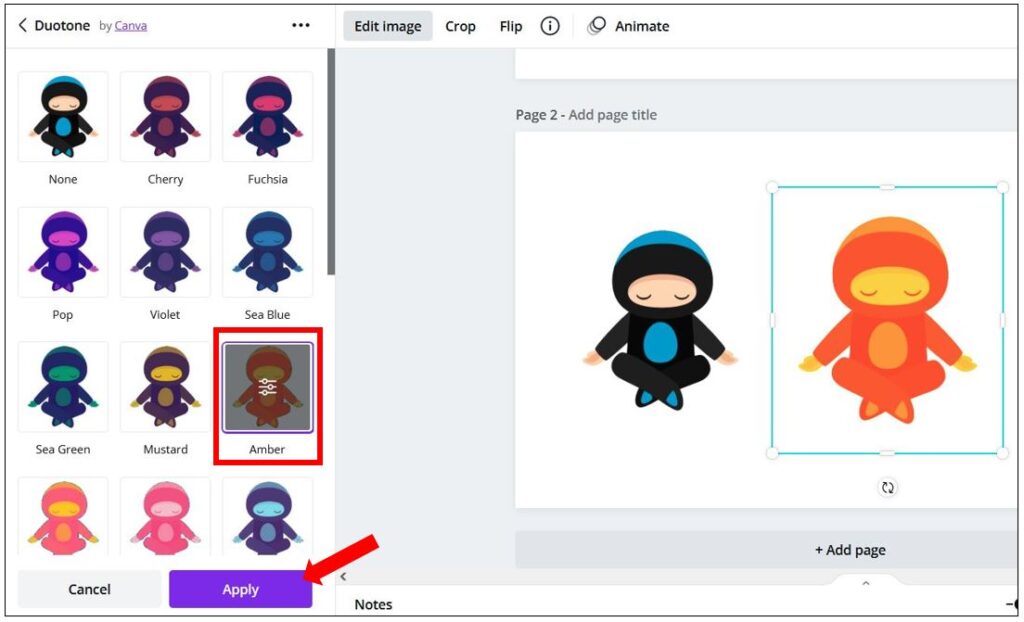
Choose a colour you like and click Apply at the bottom of the page…
You now need to add blur to it, so whilst the image is still selected click back on Edit image and then See all next to the Adjust section…
To add the blur, move the slider to the right next to the Blur section and you’ll see the image become blurred as you do it…
Once you’re happy with it, you now need to position this behind the main image – just drag it over to the other image and if it’s on top of the image, click on Position and select Backwards so it will go behind the main image…

You can now see the glowing outline. If you want to tweak the blurriness or colour, press the TAB key on your keyboard to quickly move between the elements until the background image is selected then click on Edit image and adjust as necessary.
If the images are out of alignment, select the background image then click on the front image whilst holding down the Shift key so both images are selected. Click on Position at the top of the page, and then click both Centre and Middle to get both images centrally aligned…
Below is the glow effect using the Duotone method…
So there you have 2 quick ways of adding a glowing outline to any image in Canva – I hope you’ve found this tutorial useful and if you have any questions, let me know in the comments :)