This post was originally published in 2022, but changes to Gmail means I’ve had to update it here in August 2023.
Did you know you can create an event in your Google Calendar without leaving your email? In this step-by-step tutorial I show you how you can quickly create an event from an email in just a few clicks! I also show you how to share your own availability in the email.
If you prefer to watch the video, scroll to the bottom of this page :)
Create an event
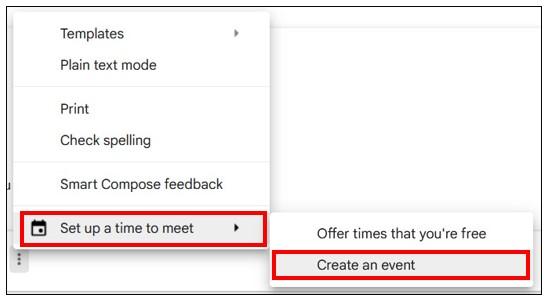
Click Compose to start a new email, or Reply to an existing email, then click on the 3 dots at the bottom of the email…

Click on Set up a time to meet, and choose Create an event…
This opens up your calendar in the side panel over on the right, and you can choose the date & time for the event. You’ll notice at the bottom there is a section for the details of the event which you can expand by clicking the arrow on the left…
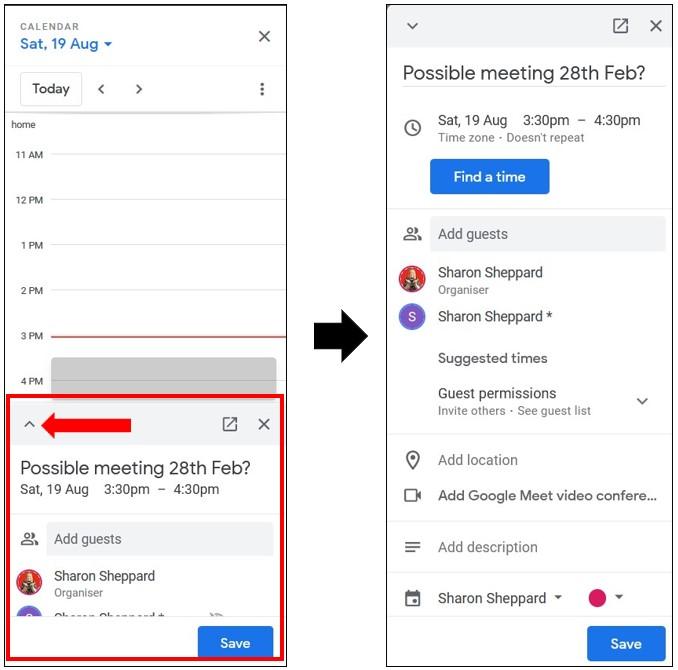
The email subject becomes the title of the event which you can easily change, and the recipients of the email are added as calendar guests to that event. All you have to do is change the date & time to match what’s been agreed.
If you want to go back to the calendar at any time, either click again on the arrow at the top, or click on Find a time…
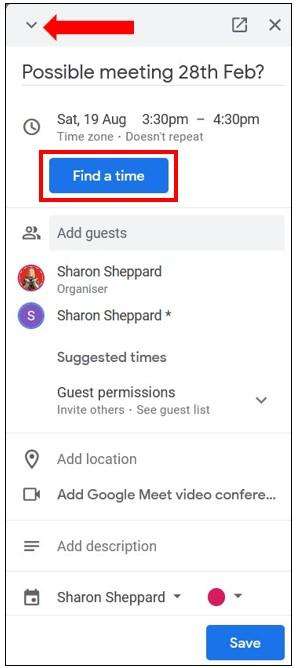
Once you’re happy with everything just click Save and choose whether or not you want to send invites to the guests. That’s it, job done :)
Show your availability
Sometimes it’s easier to simply let the recipient choose a time that suits them from your own availability. Gmail lets you do that, here’s how…
Click Compose to start a new email, or reply to an existing email, then click on the 3 dots at the bottom of the email…
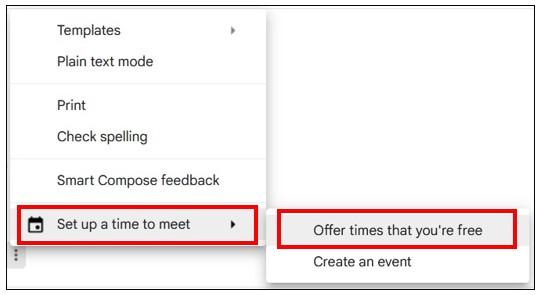
Click Set up a time to meet and choose the option Offer times that you’re free…
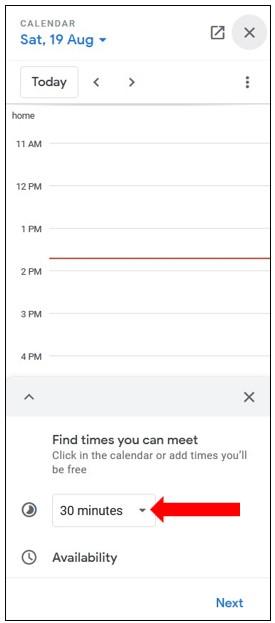
This opens up your Calendar in the side panel over on the right for you to choose the times that you’re available. The duration of the time slots is set at 30 minutes, but if you click on the drop down arrow next to that, you can change it to a different duration…
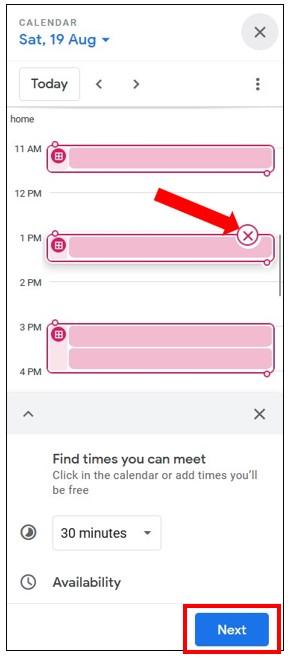
Simply click on the times you’re available on the calendar and the slot will appear, you can drag the slot down for a longer period of time, or if you want to remove it completely, click on the cross that appears when you hover over it. You can click through to different days and select times for whatever day you’re available. Once you’re happy with it, click on Next…
You now have the option of giving it a title, make any changes to the dates, you can add more dates if needed, and you have a section for More info.
Click on there, then click on Add location or conferencing and it will bring up the options of Google meet, phone call, in person or you can leave it blank to be updated later.
Once you’re happy click Add to email….

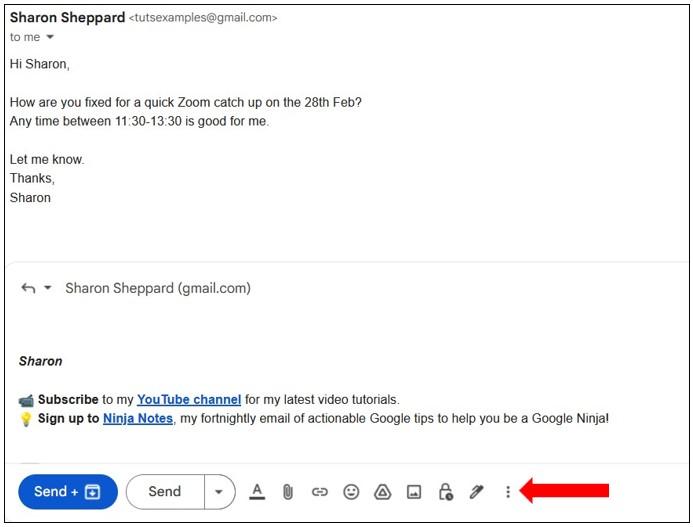
This now lists your availability in the email…

The recipient will receive your email including the dates and they can then click on a time that suits them. Once confirmed, you will both receive a calendar confirmation email of the meeting.
And that’s it – job done :)