For anyone providing online courses, workshops or video courses, having a downloadable workbook or worksheets is a great way of giving more value to your students/customers/clients.
In this tutorial you’ll learn 2 different ways of creating a lined page, great for those worksheets. The video tutorial is at the end of this post :)
1. Using a background
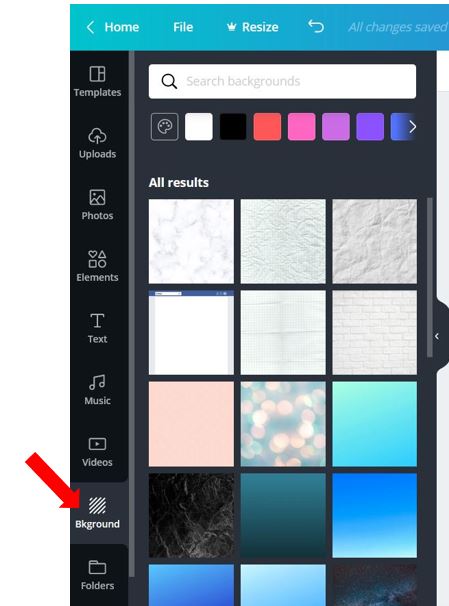
Once you’ve logged into Canva and gone to your design where you want to add the lined pages, click on Background…
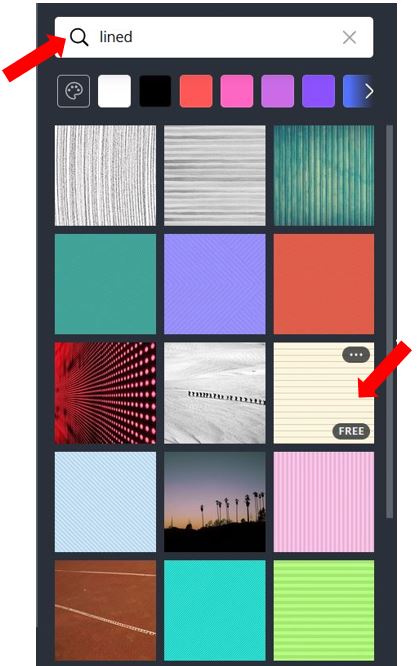
In the Search bar type lined and choose the design that’s about halfway down the page (this is probably the best one to use for standard lines on a page)…
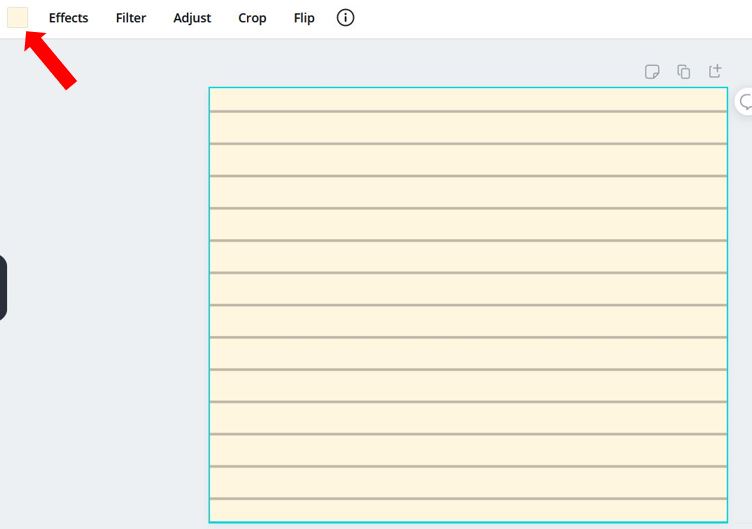
Click on it to add it to your page, then change the colour of the background by clicking the colour square at the top of the page…
Choose the colour you prefer, in this example I’m choosing white…
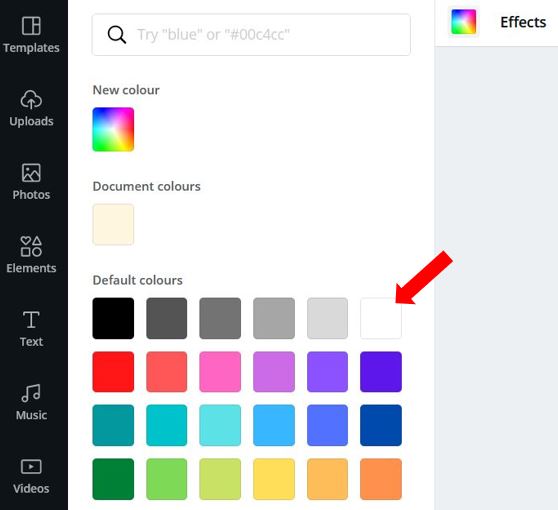
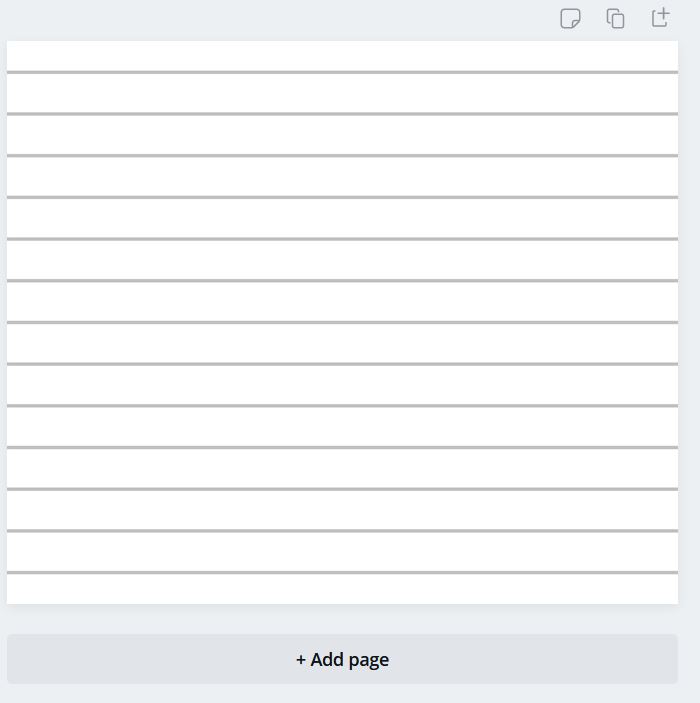
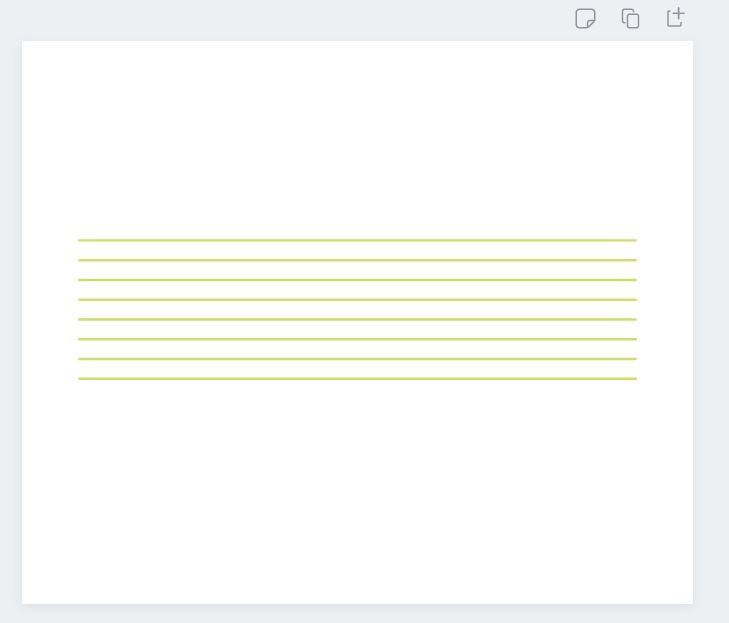
…and you now have a lined page. You can’t change the colour of the lines in this free version but if all you want is a basic lined page then I think it looks fine…
2. Adding lines manually
The other way of creating lined pages is a bit more cumbersome, but you have more choice when it comes to colours and the location of the lines – for example if you just wanted half the page or a certain section to be lined, so you can add other text or images if you wish. Start with the design where you want the lines to be then press the keyboard shortcut L to insert a line. This will insert a standard grey line…
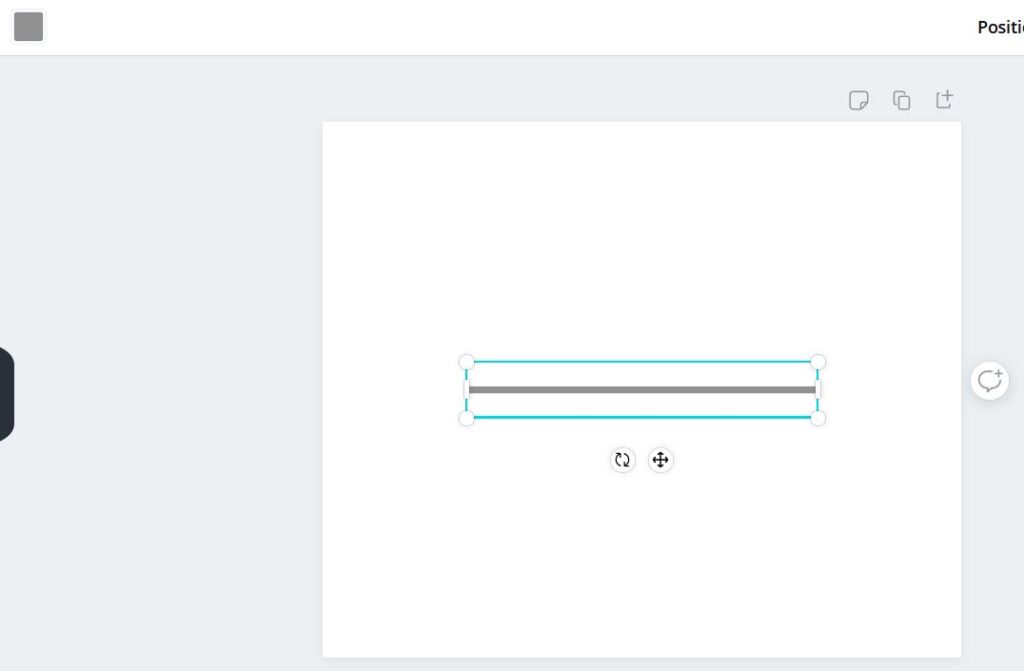
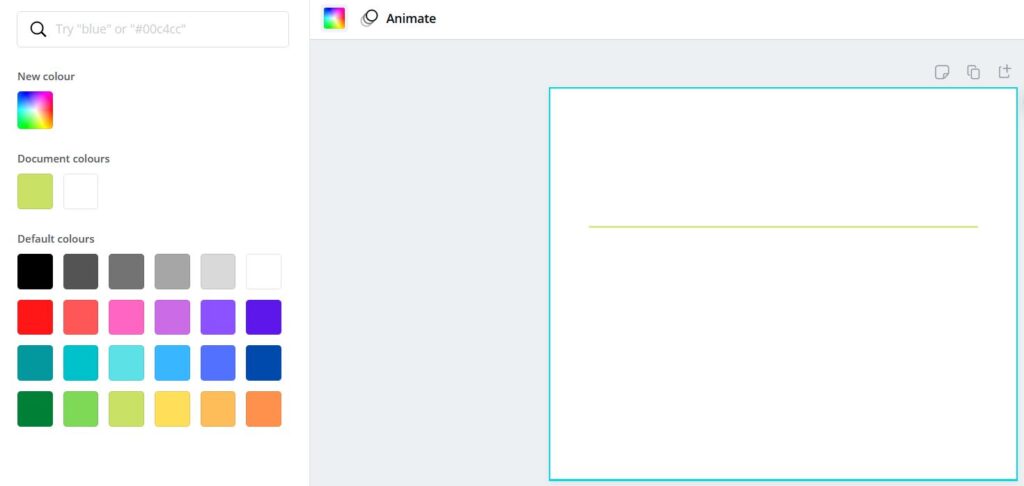
Use the drag handles on the left & right to resize the line, then click on the colour square at the top of the page to select your colour…
Once you have the line how you want it, click on it then click Duplicate in the top right corner…
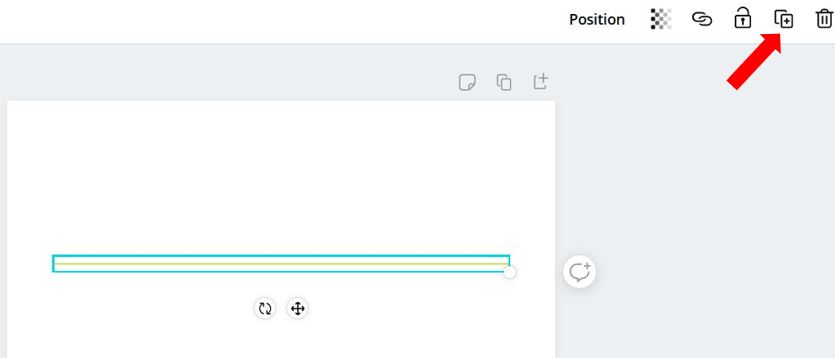
Reposition the second line so it’s in line with the first…
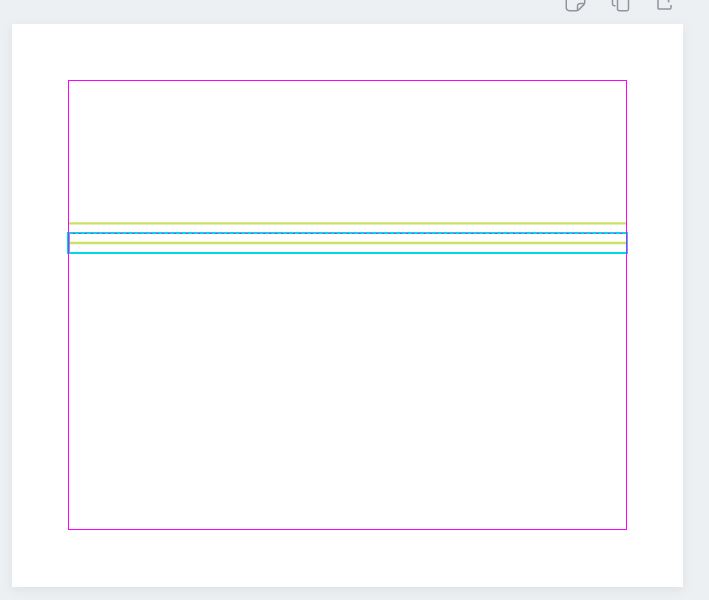
Then select both lines by clicking and dragging your mouse over both lines, and click Duplicate again. Whilst the 2 new lines are selected, reposition them in line with the others. Select all 4 lines and click Duplicate then realign the new set of lines. Keep repeating this process until you have the required number of lines…
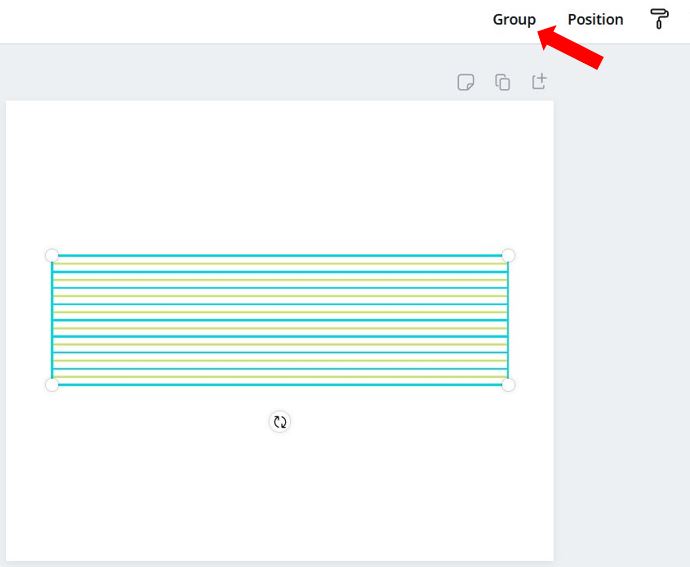
If you want to group them all together at any point, select the lines and click on Group in the top right corner…
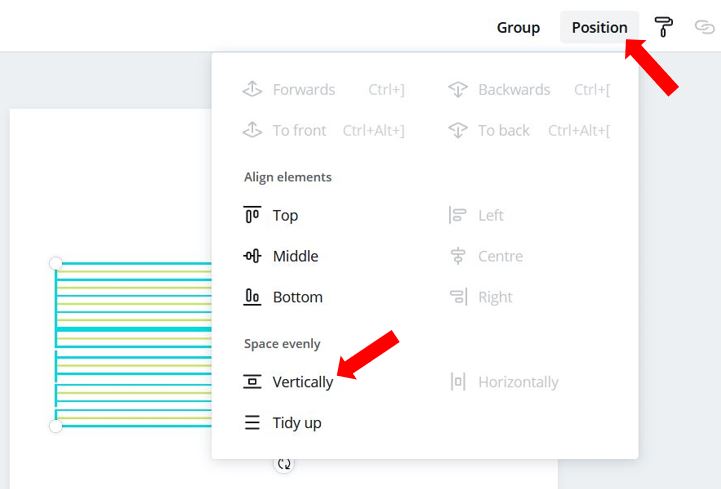
If you’re not sure whether the spacing is even between the lines, select the lines, then click Position in the top right corner and click on Vertically under Space evenly…
So there you have 2 ways of creating lined pages in Canva. I hope you found this tutorial helpful and if you have any questions, let me know in the comments.