Over the past number of years Gmail has upped its game to become one of the most popular email platforms to use… and the best thing is it’s free (obviously there is also the paid version for Google Suite if you’re wanting it for business use) I have been using Gmail since 2010 and have seen it evolve and develop into a great emailing platform, and personally, I wouldn’t be without it!
One of the more recent new features is the Schedule Send button – below is my step by step guide on how to use it. If you prefer to watch the video tutorial, check it out at the end of this post :)
How to schedule the email
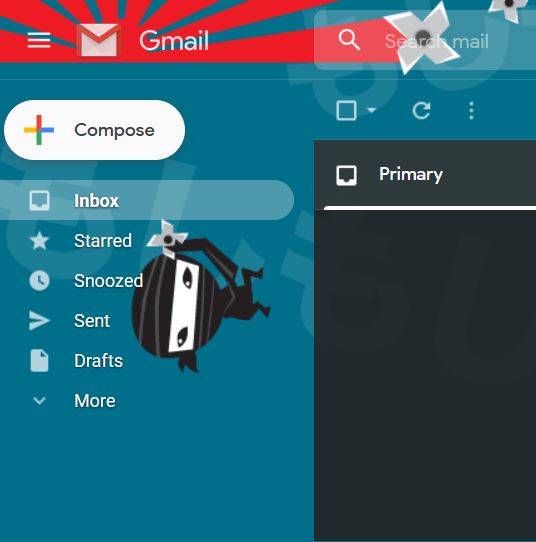
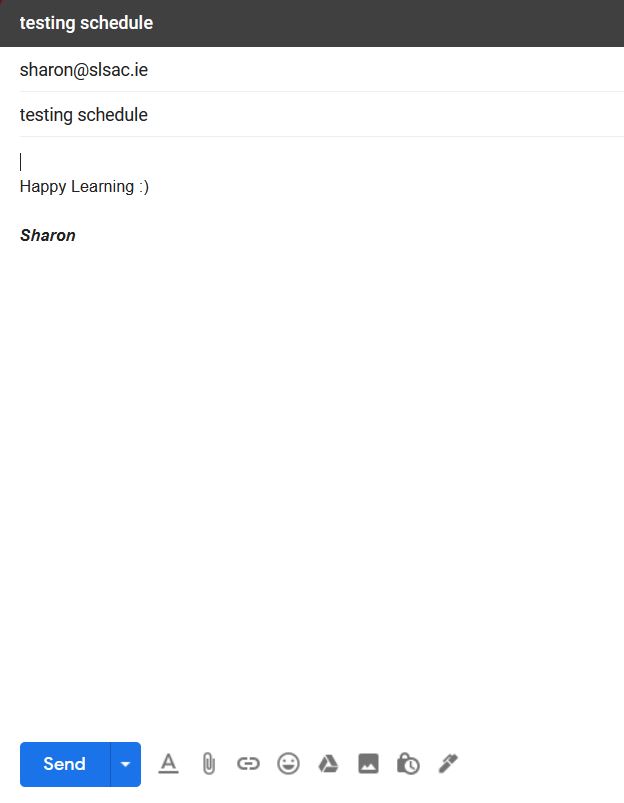
Firstly click on Compose to write an email as you would normally…
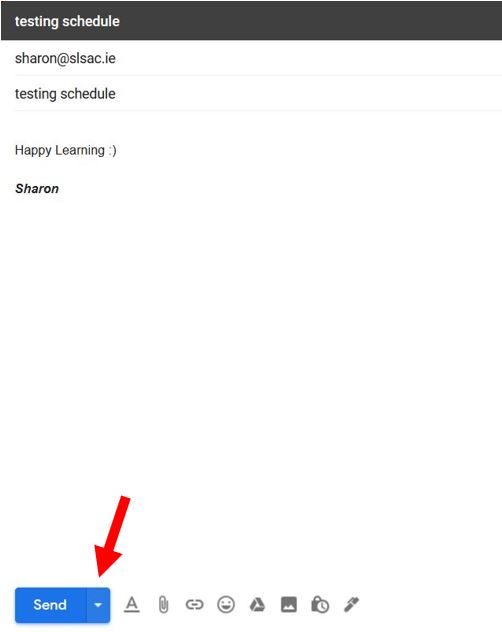
When you’ve finished typing out your email, instead of clicking on the Send button, click on the drop down arrow to the right of the Send button…
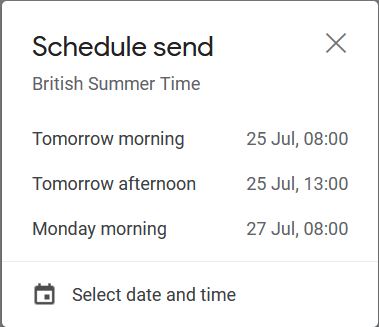
This will open up the Schedule Send options where you have a choice of a few pre-set dates & times, or you can schedule your own time by clicking on Select date and time…
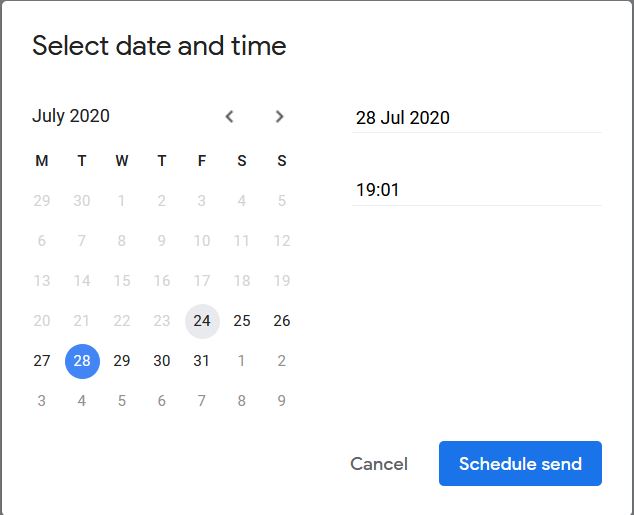
Simply choose your date and time when you want to send the email then click on the Schedule send button…
Where to find the scheduled email
If you want to edit the email once you’ve scheduled it, you can find the email in the label (or folder) called Scheduled over in the menu on the left hand side…
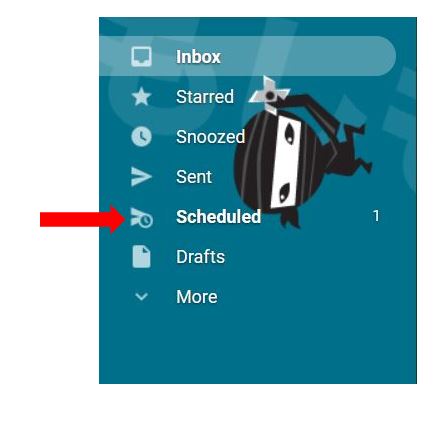
Click into the label and all of the scheduled emails will be listed – you can see the dates they are scheduled for over on the right hand side…

Click into the email you want to edit and then click Cancel send over on the right hand side…
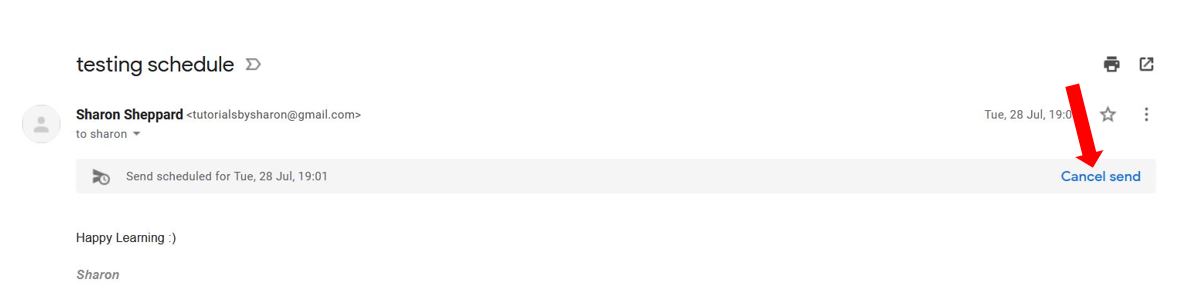
This will bring the email back into draft mode, so you can edit the contents of the email, reschedule it or discard it completely…
To reschedule it, just follow the steps above again. After you click on Schedule send, you’ll notice there will also now be an option for choosing the last scheduled time if you want to send it the same time as previously set.
Where to find the scheduled email if label is hidden
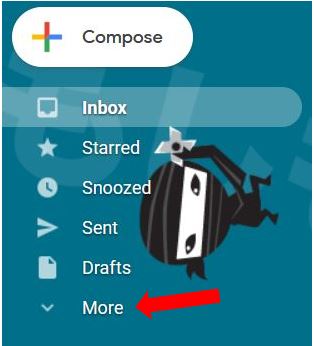
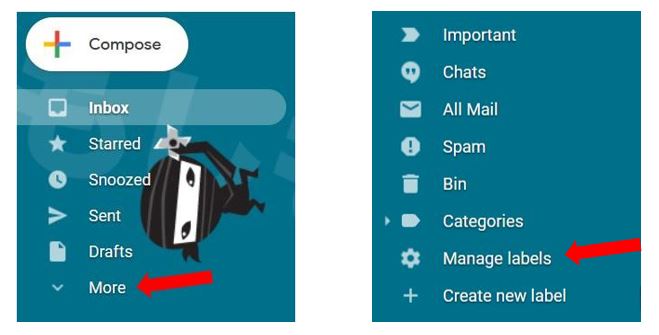
Once you’ve scheduled the email, you might not see the Scheduled label in your menu… don’t panic, it’s just hidden :) To have it appear again, you just have to change the label settings – to do this, click on More in the menu…
Then click on Manage labels…
This will open the label settings and you’ll notice the settings next to Scheduled will be down as hide…
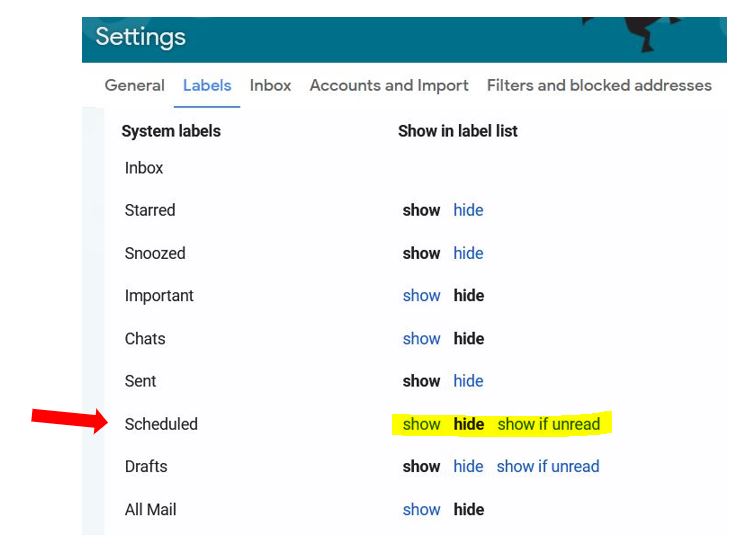
If you want the label to be visible all the time in your menu (regardless of whether there are any emails scheduled), then select show. If you just want the label to only appear above the More option in your menu when you have emails scheduled then select show if unread. Choose whichever option you prefer and you’re good to go!