In this post, I’m going to show you step-by-step all there is to know about sharing your files, folders and links in Google Drive – even to non-Google users!
If you want to watch the video that goes along with this, then you’ll find it at the end of this post :)
Which files are shared?
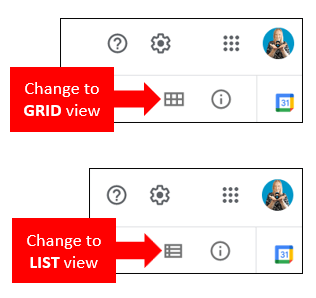
First off, how do you know when a file or folder is shared with anyone? Log into your Google Drive and make sure you’re in List view – you can change it by clicking the icon in the top right corner of the screen…
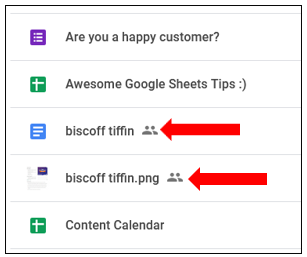
In list view, when you look to the right of the file name you’ll see an icon of a couple of people, this means it’s a shared file…
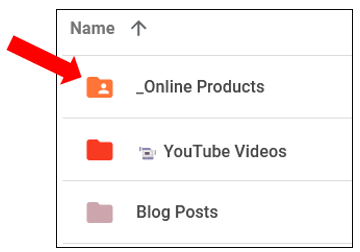
With folders the icon appears inside the folder icon…
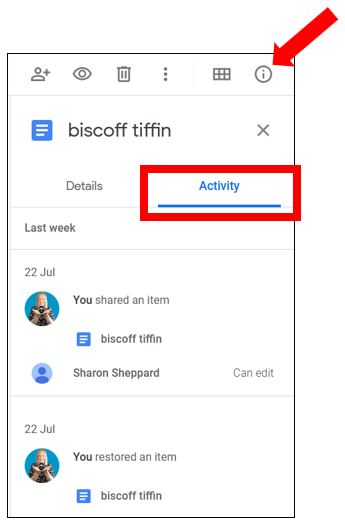
If you want to quickly see who has access to the file or folder, simply select it and then click on the Info icon over on the right. This brings up a list of details such as who has access to it, when it was last modified & opened. And if you click on the Activity tab it lists all the changes made, when they were made, and by whom…
Files shared with me
To easily see the files or folders that someone else has shared with you, click on Shared with me over on the left hand side.

If you keep the file in there then you’ll always have access to the most recent version of that file. However, it does mean that if the owner removes the file then it will also be removed from your Shared with me folder.
Depending on the permissions the owner has set, then you may be able to save a copy of the file yourself.
To do that, right click on the file then click on Make a copy…

A copy will then be saved to your actual Drive which belongs to you. If the owner of the file removes it at all, you’ll still have your copy in your Drive – just be aware that it won’t be the latest version, it will be the version you made a copy of at that time. This works well if you’ve been given access to a template that you want to work on – make a copy first before you start working on it and it will be saved in your Drive.
How to share a folder
There are several ways to access the sharing options to share a folder.
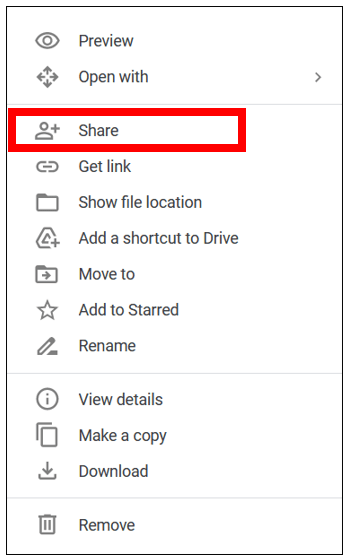
1. The first way is to right click on the folder then click Share…
2. Another way is to click once on the folder name then click on the +person icon in the top right corner of the screen which brings you to the same sharing options…
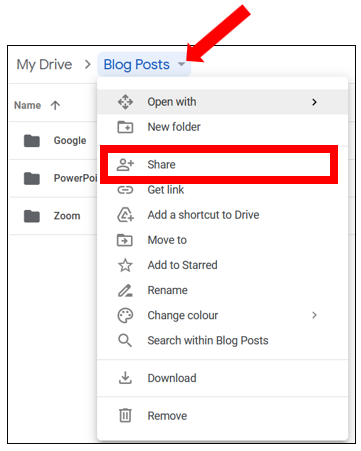
3. If you’re in the folder itself and you want to share it, click on the drop down arrow next to the folder name at the top and choose Share. The same goes if you have subfolders within this folder, navigate to the subfolder you want to share and do the same thing, click on the drop down arrow & share…
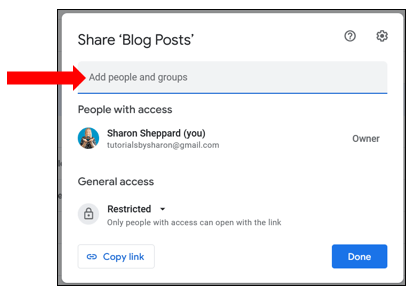
Once you’ve accessed the sharing options, you can manually add the person’s name or email address to add them…
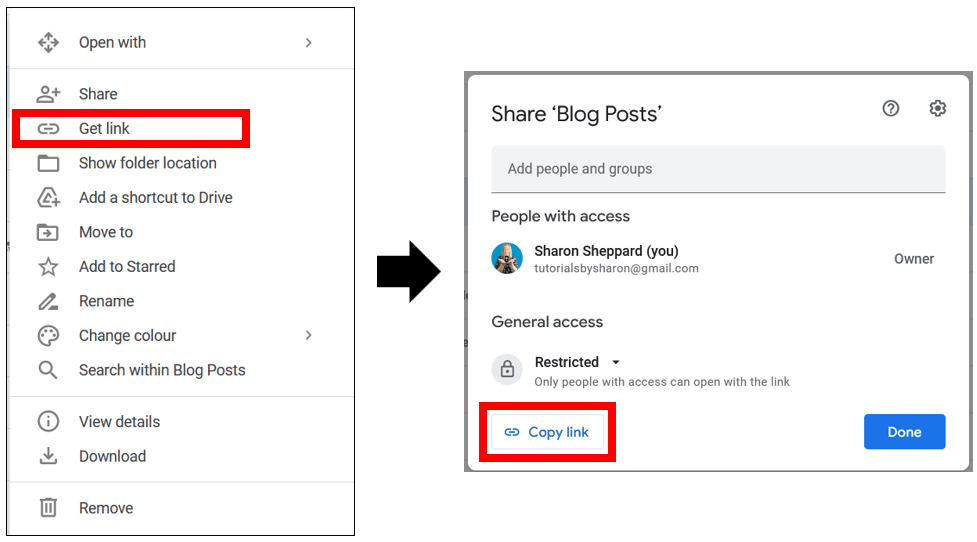
If you don’t want to manually add people each time, then a handy way of sharing the folder is to just get a link and share the link with people instead – to do that right click on the folder and click on Get link, then click on Copy link…
Another way of getting the link is to click once on the folder to select it then click the link icon in the top right corner of the screen which brings you to the same options…
NOTE: To share a link with the public (i.e. without adding people to the list), you need to change the General access settings first to “Anyone with the link” – see Permissions + Access Levels section below.
How to share a file
If you want to share an individual file then you can do either of the first 2 options as listed in sharing a folder above. i.e.:
- You can right click on the file name and then click Share;
- Or you can click on the file name and then click the +person icon in the top right corner of the screen;
If you’re in the file itself, then you can click on the Share button in the top right corner of the page…
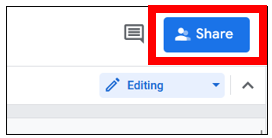
You may notice that this share button is a different colour depending on which app you’re in, so for example, it’s green in Google Sheets, orange in Google Slides and blue in Google Docs.
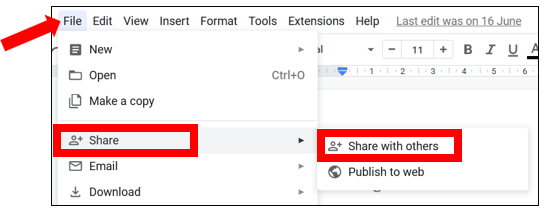
The final way is to click File then Share – then Share with others…
So just the same as when sharing a folder, you can manually add people by typing in their name or email address. You can then choose whether you want to notify people, which sends them an email letting them know you’ve shared the file or folder with them. You can also type out your own message here if you want to…
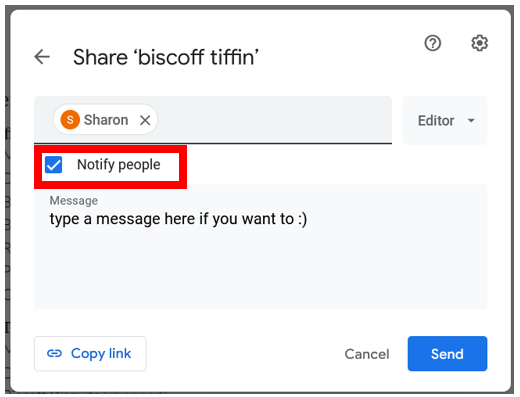
One thing to note is that if you have added more than 1 person at the same time, then they will all see each other’s email address in the notification email.
As before with sharing folders, you can also share a link to the file instead of manually adding people each time, to do that right click on the file and click on Get link, then click on Copy link.
Another way of getting the link is to click once on the file to select it then click the link icon in the top right corner of the screen which brings you to the same options.
Permissions + Access Levels
So now you know how to give people access, you need to know what you’re allowing them to do, so let’s move on to Permissions and access levels.
There are 2 different levels of access in Google Drive – one level is Editor and the other level is for both Viewer + Commenter (as they both get the same level of access).
Anyone who is an Editor is allowed to change the permissions of anyone else who has access to that particular file or folder, and they can also share the file with other people.
Anyone who is a viewer or commenter can download, print or make a copy of the file.
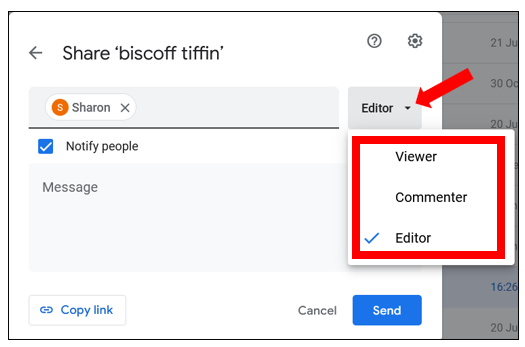
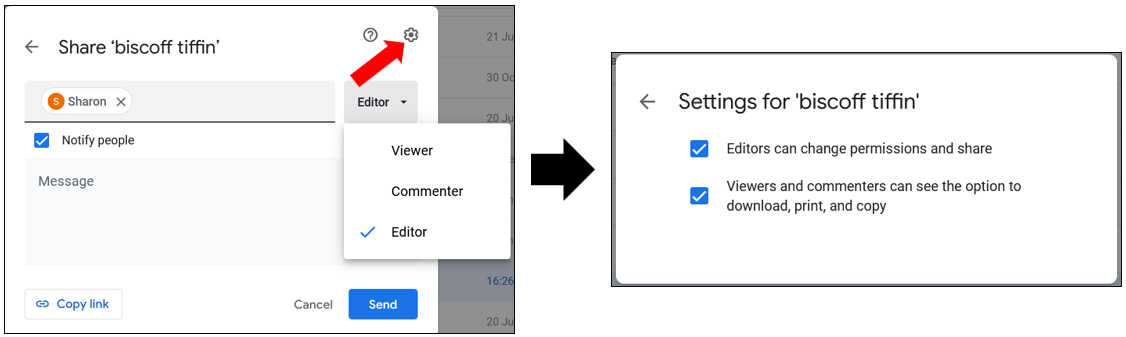
When you add a person, click on the arrow over on the right hand side to change the permission or role of that person for example, viewer, commenter or editor…
It’s worth noting that the permissions are tied to the link itself and not the person who shares it.
You also have the ability to stop Viewers from being able to download, print or copy a file and you can stop Editors from being able to change permissions and share the file. To do this, click on the cog wheel and uncheck the box next to the relevant option…
If you’re sharing a link to a file instead of adding people, then you need to change the General access. This will either be shown as Restricted or Anyone with a link…
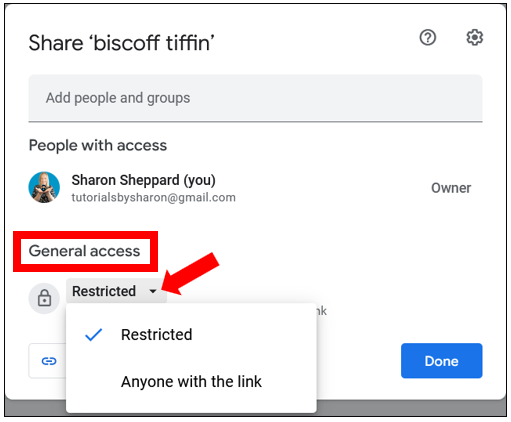
If it’s Restricted then only those you’ve given access to can see it. Change it to anyone with a link to allow anybody to have access to it. This means you can also share your files with non Google users by using a link instead of adding them as collaborators.
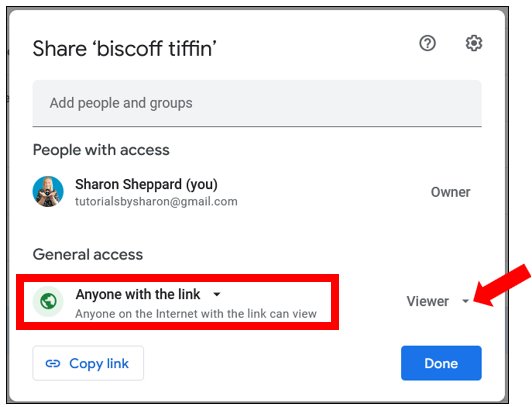
You’ll also see that the same levels of access are available for you to choose, but if you’re allowing anyone with the link to have access to it then it’s probably best to set the level as Viewer then click the cog wheel to uncheck the box next to Viewers can see the option to download, print & copy, so they can’t make any changes to it…
It’s also worth remembering that whoever has the link will always be viewing the most recent version of the file or folder.
How to stop sharing with someone
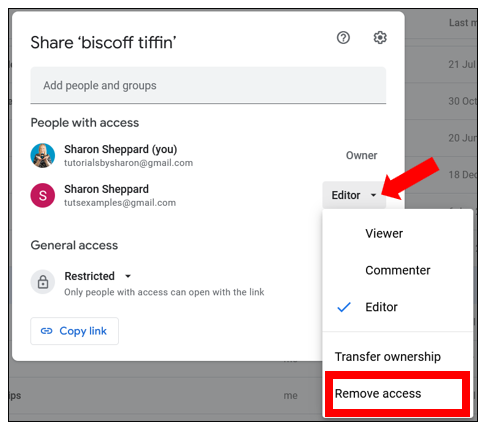
If you want to stop sharing the file or folder with a specific person, click back into the sharing options, click on the drop down arrow to the right of the person you want to stop sharing with & select Remove access. Then click Save…
If you’ve shared a file via a link then go back into the sharing options, and under General Access, change it to Restricted, so only people you’ve added can gain access to it.
Deleting shared files or folder
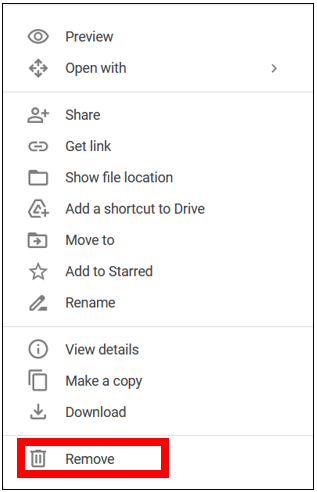
If you’re the owner of a shared file or folder and you want to delete it, simply right click on the name and select Remove – this will move it to the bin folder for 30 days before permanently deleting it…
When you remove a shared file or folder, then the shared access is also removed meaning nobody has access to it anymore UNLESS anyone you have shared it with has made a copy of it in their own Drive.
Transfer ownership
If you want to remove the file from your drive but still want the shared access to be available then you’ll need to make someone else the owner before removing it.
To do that, go back into the sharing options, click on the drop down arrow to the right of the person you want to make the owner and choose Transfer ownership…
Click Send invitation – note that you will still be the owner until the person accepts the ownership transfer…

Once ownership is transferred, you can then go ahead and remove the file without it affecting anyone else you’ve shared it with.
If someone else has shared a file with you, so you’re not the owner, and you want to remove it, then you can right click on it and select Remove. This will remove it from your drive and doesn’t affect anybody else.
A couple of things to note:
You may not be aware of this but Google does actually have a limit to the number of people you can add as collaborators – you can’t share a file with more than 200 people. So a way around that would be to use the Get link option instead.
The second thing to be aware of is that Google also has a limit of 100 people that can edit and comment on a file at the same time.
I hope you’ve found this helpful, let me know in the comments if you have any questions :)