If you want to save a bit of time when working in a Google Doc, you should try its voice typing feature! Which does exactly what you’d expect – it types out what you say. I show you how in this step-by-step tutorial. If you prefer to watch the video, scroll down to the end :)
Firstly you need to make sure that your computer microphone is on and working. Then go into the Chrome browser and either open up a Google Doc that you want to edit, or create a new one.
There are a couple of ways to start the voice typing feature:
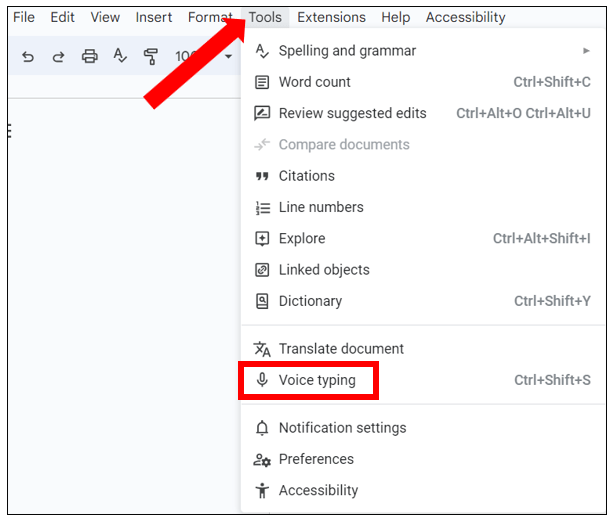
The first way is to click on Tools in the menu at the top of the page, then click on Voice typing…
The second way is to use the handy keyboard shortcut Ctrl+Shift+S which will switch the microphone on and off.
Whichever method you use, it will bring up a microphone icon on screen, which will be coloured red when it’s in use…
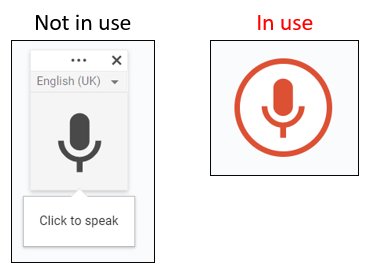
Start speaking, and you’ll see the text being typed out as you speak. When you want to stop, simply click on the red microphone icon, or use keyboard shortcut Ctrl+Shift+S.
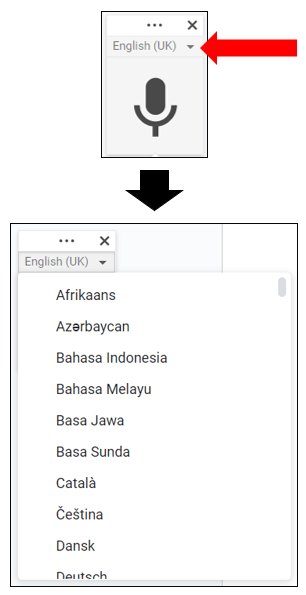
Looking at the microphone icon, if you click on the 3 dots at the top of the microphone, you can drag it to a different position on the screen. If you click on the dropdown arrow next to the language, it brings up a list of languages that work with voice typing.
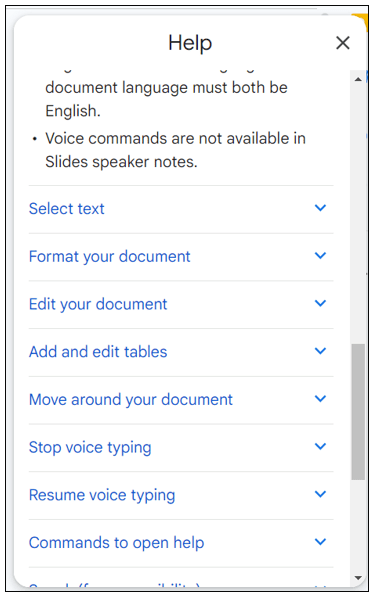
Hover over the microphone and you’ll see a small question mark appear in the bottom right corner…
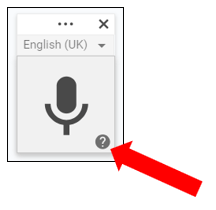
Click on there and over on the right hand side of the screen, you’ll see a really useful list of voice commands for punctuation, formatting and editing your document. I recommend taking a look through that before you start recording so you know what commands work for punctuation etc…
And that’s it! It is such a time saver when it comes to typing out those long documents :)